Saturday 9 September 2017

Gaming roundup

Hello rebel scum, I'm sure you wouldn't want to ruin your losing streak by winning the final mission or anything...

Oh hey, nice ritual your having, mind if we blunder in and kill everyone?
Flames 4th edition - officially baffling
Hungarians take on the British Paras

A cinematic shot, but will it be enough to halt the Hungarians? No, no it wont.

 
All that Remains gets played and critiqued
For bonus gaming, head to the All That Remains Project blog to read more!

Tuesday 5 September 2017

Russian armour holds bridgehead

The Russian offensive grinds on. Abelard has regrouped with German armoured elements and is tasked with capturing a rail head recently identified as in use by the invaders. It's refreshing to be facing an honest foe, rather than one willing to pretend to be ones allies. He's excited, but confident. There are relatively few enemy troops at the bridgehead, if he moves quickly, perhaps he can capture it without loosing a man.

Setup

Abelard's group form up near an industrial park

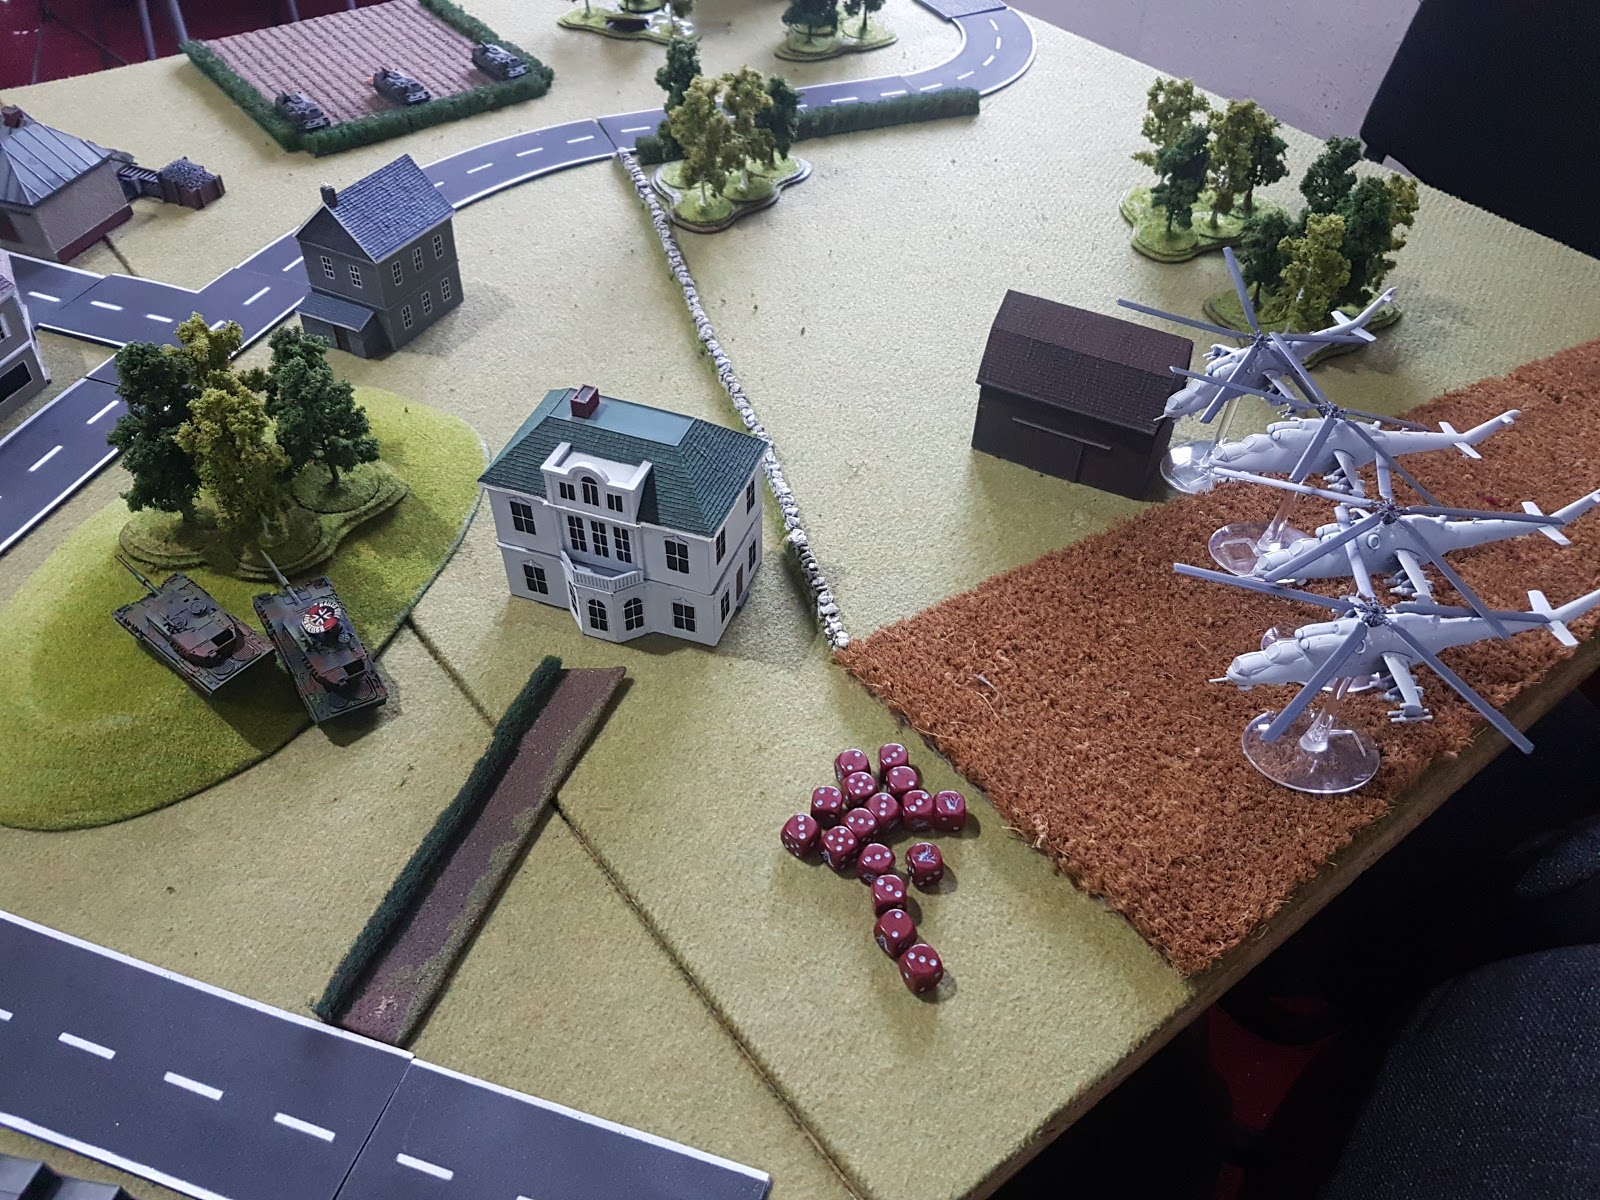
Russian armour clusters around the train station
I decided to play aggressively; to avoid repeating the failings in my previous games and it yielded instant results.

2 T-55 are left burning
 I even got reserves on turn 1 (luckily) and a Panther platoon rushed to lock down the centre.

Stu brings on his hind wing

And pops his ambush
This is where I got lucky. Stu neglected to flank my Panthers with his ambushers, leading to only one being bailed. The Hinds also failed to cause any effect.

Pop goes the Russian
In my turn, I abandoned the centre, choosing to push up my second Panther platoon to reinforce the left flank and return fire smoked all the ambushers.

Hinds line up for kill
 Up 'til this point my AAA had been completely ineffective, but as the Hinds opened up on the second Panther platoon, a missile finally found it's mark and a Hind dropped from the sky in flames. The Hinds failed to kill a Panther again, but flanking T-55's landed a shot on the rear of a Panther killing it and force the unit to flee.

And this is when things started to fall apart
I decided to push for the objective, certain of victory. This was first turn when Stu could bring on (delayed, scattered) reserves. I didn't do the maths (it was 8 in 9), but I was pretty sure that I'd have the objective uncontested at the end of my next turn.

I even popped the Russian commander
 Things did not go well...
Surprise reserves!

OhShit.jpg
 Lets just say things quickly unwound after that.


This one genuinely broke my heart, I could taste victory, and it was snatched from me! Other than ignoring the possibility of being flanked by the ambushers (who I could see coming), I think I played the odds correctly, and it went against at the last moment.

Saturday 2 September 2017

Operation Sourdough - Armada

Sitrep
The signature of the "flagship" of known terrorist mastermind "Admiral" Akbar has been traced to a location not far from your position. The elimination of this key player in the insurgent hierarchy will be a significant step towards restoring peace to the sector.

Threat Assessment
High - intelligence indicates the presence of 2 large ships, and a number of escorts. However, the crews appear to be recent converts to the Jedhadist cause. The two VSDs assigned to you have experimental loadouts as more conventional Star Destroyers are not in position to intercept. Use cation and avoid casualties.

Combat Report
Well, set up was a disaster. I managed to put Howlrunner on the opposite end of the board from my fighter ball, one of my VSDs started off very exposed and the Gozanti's on my left were effectively left to fend for themselves.

Setup
Featuring: my opponent effectively concentrating his forces

All ahead full!
I spent my opening turns trying to redeploy my capitals as fast as possible, hoping that my squadrons could counter the three squadrons my opponent brought and deal with his flanking corvettes.

The left flank plays it cool
Things got very dicey on the right flank. Both rebel capitals focussed on one of my VSDs - my carrier setup - almost resulting in it's destruction. My flagship was fairly heavily damaged as well. Both managed to survive, but things went badly wrong for the rebels and in a spectacular case of [IMAGE NOT FOUND] both capitals went down, one after another, after home one got pinned between both VSDs.

Not pictured: rebel capitals imploding
With the enemy capitals down, I just had to avoid colliding with my own ships, and dealing with the murderous corvette and torpedo ship who had flanked around to appear in my rear.

The final rebel ships come back for sweet hot vengeance...
But fail
In all honesty, I got lucky. I was trying to run a bomber list with very few actual bombers but with 2 capitals and a flotilla speced to command them. Both carrier capitals spent most of their time out of positions or scrambling to not die. My fighters were left in the lurch, for a couple of turns, getting mauled by AAA. I also definitely didn't get the most out of my quasar.